I can’t for the life of me find where now, but sometime in early December, I saw an image of a leather skirt. With a sequin border. And it was gorgeous. And somewhere in the range of super pricey to astronomical.

I remembered I had a black suede leather skirt languishing in my closet. I liked it, but for some reason, just didn’t get to it that often. I thought it would be perfect for a little upcycling with some sequin fabric I had on hand (mine was from fabric.com, but sadly, it doesn’t seem they have it any more).

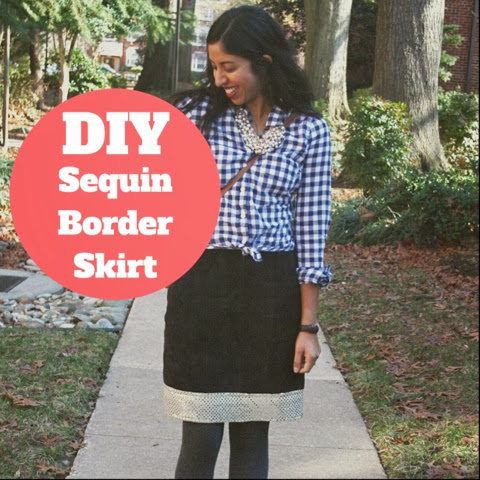
This whole project took about half an hour start to finish. Perfect piece and time commitment for some holiday styling, but I also loved making it January-appropriate this last Sunday by dressing it down with some gingham. Stay tuned next week for some other ways to wear sequins after the holidays!
Wanna do it yourself? Here’s how!


1. Measure the width of your skirt at the bottom (I used a pencil skirt for ease so it was the same at the top and bottom of the border). Double that number and add 3-4″ to wrap the ends around the vent. Determine how tall you want your border (mine was about 3 or 4″) and add 1″ to that measurement. Cut your sequin fabric to the appropriate height and width.
2. Because my skirt was suede leather and was very thick, my pins wouldn’t go through. Instead, I folded the top over twice so it wouldn’t fray and stuck it to my skirt with painters tape. (If your skirt is a thinner fabric, feel free to use pins instead). Then, wrap the fabric all the way around the bottom of the skirt and up and under to the inside. Fold over twice again and stick or pin in place.


3. Wrap the edges (the short sides) around the back vent so they fold around to the inside of the skirt.
4. Sew (using a heavy duty needle if you have a thick fabric like mine!) with matching thread 1/4-1/2″ from the edge (you want to be close to the edge, but you want to make sure you’re catching all the layers where you folded so it wouldn’t fray) on both the top and the bottom, pulling off tape or pins as you go.


So cute! I love it when I can manage to find a way to make old, unloved items more usable. This is so cute!
Aaaand, I said 'so cute' twice. I'm tired.
It looked so great! You are Crafty McCrafterson.
Wow! This is amazing – and simple. I'm going to keep my eye out for a simple skirt at the thrift store to upgrade like this! 🙂
You guys are adorable and this is a wonderful diy!
Thanks so much!