A few years ago when we were visiting Sweden, our friends with whom we were staying brought home a Swedish Princess Cake one night. I’d never heard of it before then, but they told us that it’s very traditional and popular in Sweden. In Swedish, it is called Prinsesstårta. I don’t tend to be a cake fan, and this one was just okay.
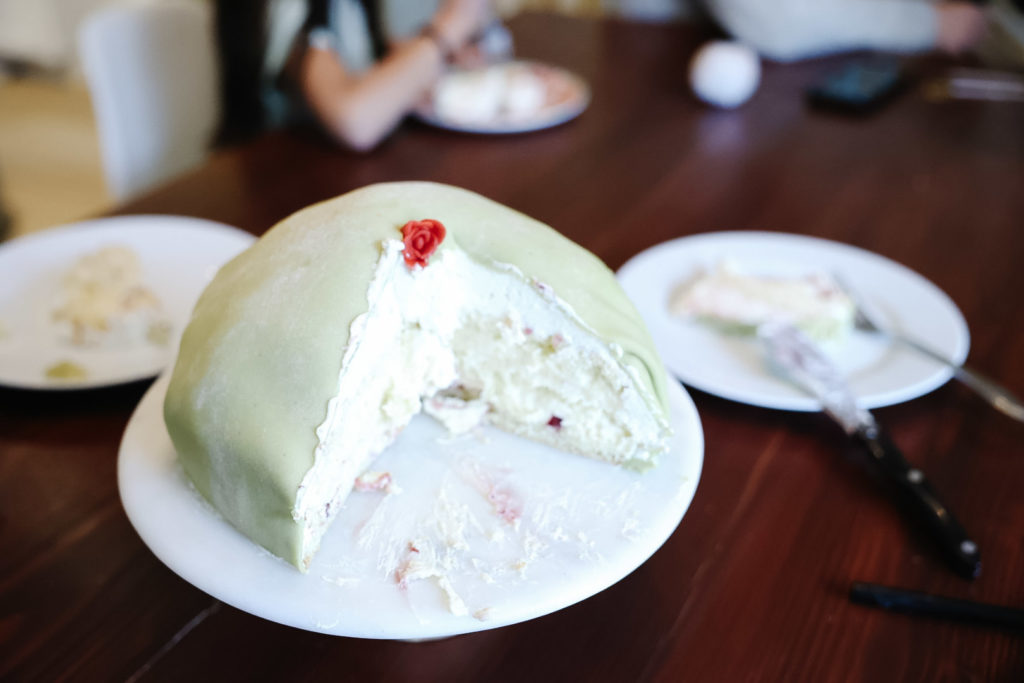
Fast forward a couple years and Dan and I were watching the British Bake Off (a favorite). One evening, I was excited to see a princess cake featured as a technical challenge! And to my surprise, marzipan covered the top instead of fondant, like we’d experienced with the cake in Sweden.
A bit of digging told me that marzipan is actually the traditional way of doing it. However, some grocery stores and such use fondant instead (presumably because it’s easier and less expensive). But after watching the show, it was clear that a marzipan princess cake would be far superior (and I also love it).
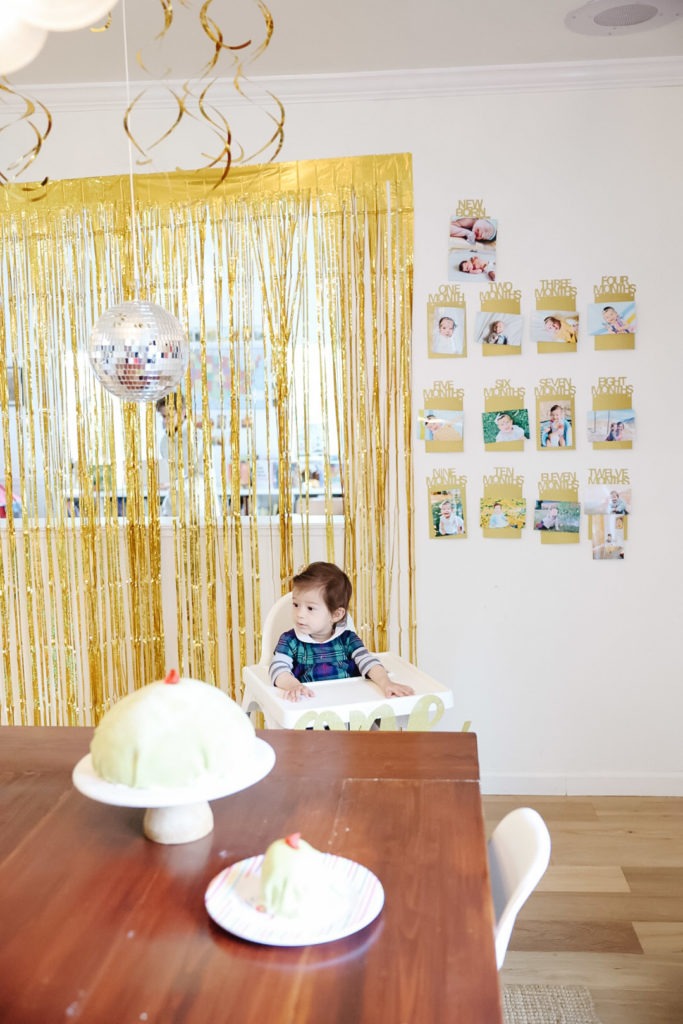
So when one of our babies was about to have her 1st birthday, princess cake popped back into my head.
Finding An Authentic Swedish Princess Cake Recipe
I dug around quite a bit trying to find an traditional Swedish princess cake recipe. I found that while most used about the same ingredients, the layering and methodology was all across the board. My experimenting told me that a number of them just plain didn’t work well!
I’ve now made a Swedish princess cake 3 different times. I think I finally have a better hang of it. In general, it’s not a super difficult cake, just a bit fussy and has a number of steps. But it’s absolutely doable for an amateur home baker.
Here are some of my tips and tricks, as well as, a streamlined and easy way to make Swedish princess cake.
Simple Swedish Princess Cake Recipe Tips
I highly recommend making all the individual parts of the recipe the day before and then assemble the next day. This will be much easier than trying to make and chill everything, and then assemble.
First, Make a Simple Homemade Marzipan Recipe
Adapted from here
1.5 cups + 1 Tbsp (180g) almond flour
18 Tbsp (140g) powdered sugar
3 Tbsp (40ml) water
1 tsp almond extract
3-4 drops green & red gel food coloring (make sure you get the gel kind)
- Place the almond flour and powdered sugar in a food processor. Pulse until combined.
- Add water & almond extract and pulse until the dough comes together in a ball. Do not over process or you’ll start to release oil from the almonds.
- If the dough is too dry, you can add a tiny bit more water. If it’s too dry, add a bit more almond flour.
- Remove the marzipan from the processor. Next, remove a ping pong ball sized piece. After that, knead in 3-4 drops of green gel food coloring into the larger ball on a clean surface. Knead in 1 tiny drop of red gel food coloring into the small ball to create a pink ball.
- Cover each with plastic wrap and refrigerate.
Note: this recipe will make some extra, but it’ll give you some leeway in case it gets tricky to roll thin or if you want to make any additional shapes out of the marzipan.
Vanilla Pastry Cream Recipe
Adapted from here
- 600ml/20fl oz milk
- 1 tsp vanilla
- 6 egg yolks
- 100g/3½oz granulated sugar
- 50g/1¾oz cornstarch
- 50g/1¾oz butter
- Pour the milk into a saucepan with the vanilla and place over a low heat until just simmering. Remove from heat.
- In a large bowl, whisk the egg yolks, sugar and cornstarch together until pale and creamy.
- Pour half the warm milk slowly into the egg mixture while whisking. Pour the mixture back into the saucepan and cook over a low heat for 4-5 minutes, whisking, until the mixture thickens. (It should be quite thick.)
- Remove from the heat and beat in the butter until melted and incorporated. Transfer to a bowl, cover the surface with plastic wrap to prevent a skin forming, and leave to cool. Chill in the fridge for several hours or overnight, until completely cool.
Layer Cake Sponge Recipe
Adapted from here
- 4 medium eggs (make sure they are room temperature – this will help with the rise)
- 120 g granulated sugar
- 120 g plain flour
- 1 tsp baking powder
- a pinch of salt
- 3 baking sheets lined with non-stick baking paper (and ideally a few puffs of non-stick spray).
Note: this recipe is traditionally made as a genoise – meaning there’s no baking powder, and all of the rise comes from whipping the egg whites. I’ve included the baking powder in this recipe to ensure a proper rise.
- Pre-heat the oven 350F.
- In a stand mixer with the whisk attached, beat the egg and sugar on high until you reach ribbon stage. This means when you remove the whisk from the mixture and it drips down, it stays on top for a few moments like a ribbon. This will take at least 5 minutes.
- Grease a 9″ cake pan and place a round of parchment paper in the bottom.
- Combine the flour, salt and baking powder. Sift this into the egg mixture and very carefully fold to combine, using a figure eight motion, until all the flour is incorporated. Be very gentle at this stage, but thorough.
- Pour the mixture gently into the pan.
- Bake in the oven for 25 minutes or until baked through and lightly browned. Ensure the sponge is fully cooked – if it’s underbaked, it will sink in the middle. Allow to cool in the pan for 5 minutes on a cooling rack. Carefully turn upside down on the cooling rack to completely cool (this seals in some of the moisture).
- After cake is completely cool (after 1-2 hours), gently run a knife along the outside edge. The cake should easily come out at this point. Carefully remove the parchment paper.
- Wrap the cake in plastic wrap and chill in the refrigerator.
Assemble the Prinsesstårta Cake
Adapted from here
- Cake, chilled
- Pastry cream, chilled
- Green marzipan, chilled
- 1/4-1/2 cup good quality raspberry jam
- 750ml heavy cream
- Remove the chilled cake from the refrigerator. Using a long serrated knife, cut the cake horizontally into three even layers. Place one of the sponges onto a serving plate.
- Spread a very thin layer of custard over the base of the first sponge.
- Spoon a quarter of the custard into a piping bag fitted with a small plain nozzle and pipe a border around the edge of the sponge – this is to contain the jam.
- Spoon the jam over the sponge, and spread evenly within the border.
- Whip the cream to stiff peaks.
- Fold half the whipped cream into the remaining custard. Spread 1/3 of the custard cream over the jam.
- Place the second sponge on top and spread the remaining custard cream on top.
- Place the third sponge on top. Spoon over the remaining whipped cream covering the sides and smoothing into a small dome shape on top. (You may chill for an hour at this point, but I’ve completed it without chilling at this point and it’s been fine.)
- Roll out the green marzipan on a surface lightly dusted with powdered sugar sugar to a 16in diameter circle, large enough to cover the cake. Lift the marzipan up over the cake and using your hands, shape the marzipan around the sides of the cake to get a smooth finish. Trim any excess.
- Using the pink marzipan, mold a flower to go on top.
IF YOU LIKED THIS POST OF SWEDISH PRINCESS CAKE RECIPE, YOU MIGHT LIKE THESE POSTS TOO:
- 2 Year Old Girl Birthday Gift Ideas
- 7 Reasons to Visit Sweden With Kids
- Our Kids Playroom Organization Ideas